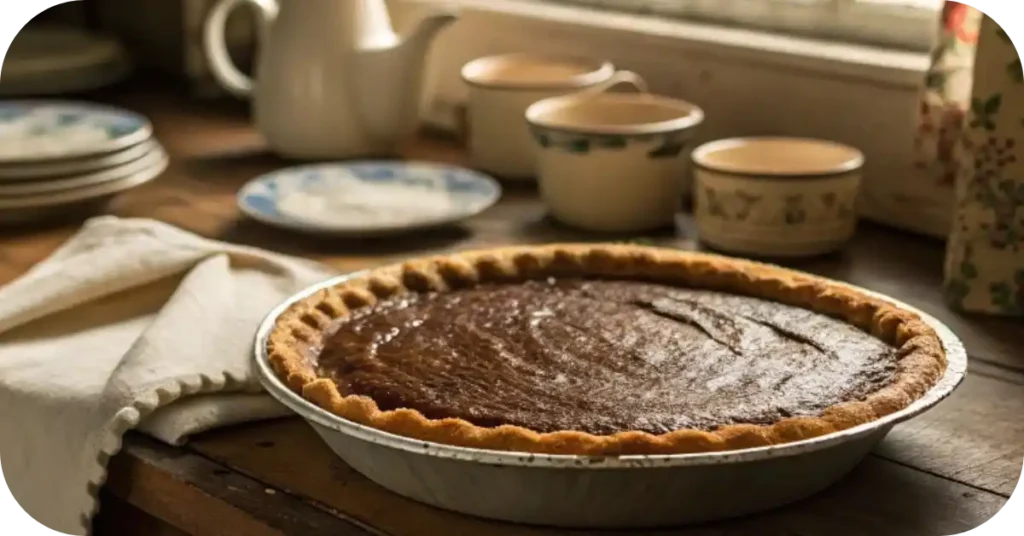
If you’re searching for a nostalgic dessert that’s creamy, chocolatey, and downright irresistible, this classic rock bottom pie is about to become your new favorite. This retro pie recipe is a throwback to simpler times when desserts didn’t need to be complicated to be unforgettable. With a rich chocolate no-bake pie filling nestled into a buttery graham cracker crust, topped with a pillowy marshmallow topping, it’s the kind of old-fashioned dessert that sparks memories. In this article, I’ll share the story behind this treasured recipe, walk you through each step, and answer popular questions people are asking about this timeless pie.
The term ‘Rock Bottom Pie’ is often linked to the Great Depression, when families had to create comforting desserts from minimal pantry ingredients. Learn more about the Great Depression on Wikipedia
How Grandma Taught Me the Magic of Classic Rock Bottom Pie
The Sweetest Lesson in Grandma’s Kitchen
They say the best recipes aren’t written down – they’re remembered. And that’s exactly how classic rock bottom pie was born.
It was a cold winter afternoon. I was just a kid, frustrated and hungry, convinced there was nothing sweet left in the house. But Grandma Ruth had other plans. She pulled out a graham cracker crust, a bit of whipped topping, sweetened condensed milk, and a handful of chocolate chips. Then she smiled and said,
“Let’s make something from nothing. That’s the best kind of magic.”
We didn’t follow a recipe. We trusted our hands and hearts. That first bite was creamy, crunchy, and unforgettable-not because of what it was, but because of what it meant.
Since then, this humble retro pie recipe has lived on in my family. It’s more than dessert-it’s a memory, a lesson, and a reminder that love makes even the simplest things extraordinary.
Want to know how this pie became a family treasure? Read the full story in The Origin of Rock Bottom Pie – A Sweet Memory from Grandma’s Kitchen.
How to Make the Perfect Graham Cracker Crust for Rock Bottom Pie
Choosing the Right Crust for Classic Rock Bottom Pie
The graham cracker crust is the foundation of any great classic rock bottom pie. It’s the “rock bottom” that gives the dessert its name-and its satisfying crunch. Grandma Ruth always said, “Don’t rush the crust.” She used simple graham crackers, crushed fine with a rolling pin, and mixed with melted butter and a pinch of sugar. No shortcuts, no store-bought crusts. The warmth of the butter blends beautifully with the crushed crackers, creating that signature nutty aroma when it bakes.
To get that perfectly firm crust that won’t fall apart when sliced, press it tightly into the pie dish. Use the bottom of a measuring cup to flatten and pack it in evenly. Then bake for about 8–10 minutes at 350°F-just long enough to let it set and deepen in flavor. If you’re making a chocolate no-bake pie variation, you can skip the oven and chill it instead, but a baked crust always holds better for slicing.
Tips for Flawless Crust Every Time
- Always use fresh graham crackers for the best texture.
- Let the crust cool before adding the filling-this keeps the bottom crispy.
- For a twist, mix in a spoonful of cocoa powder or a dash of cinnamon.
Remember, a pie is only as strong as its base-and when done right, the graham cracker crust becomes a flavor all its own.
How to Make Classic Rock Bottom Pie
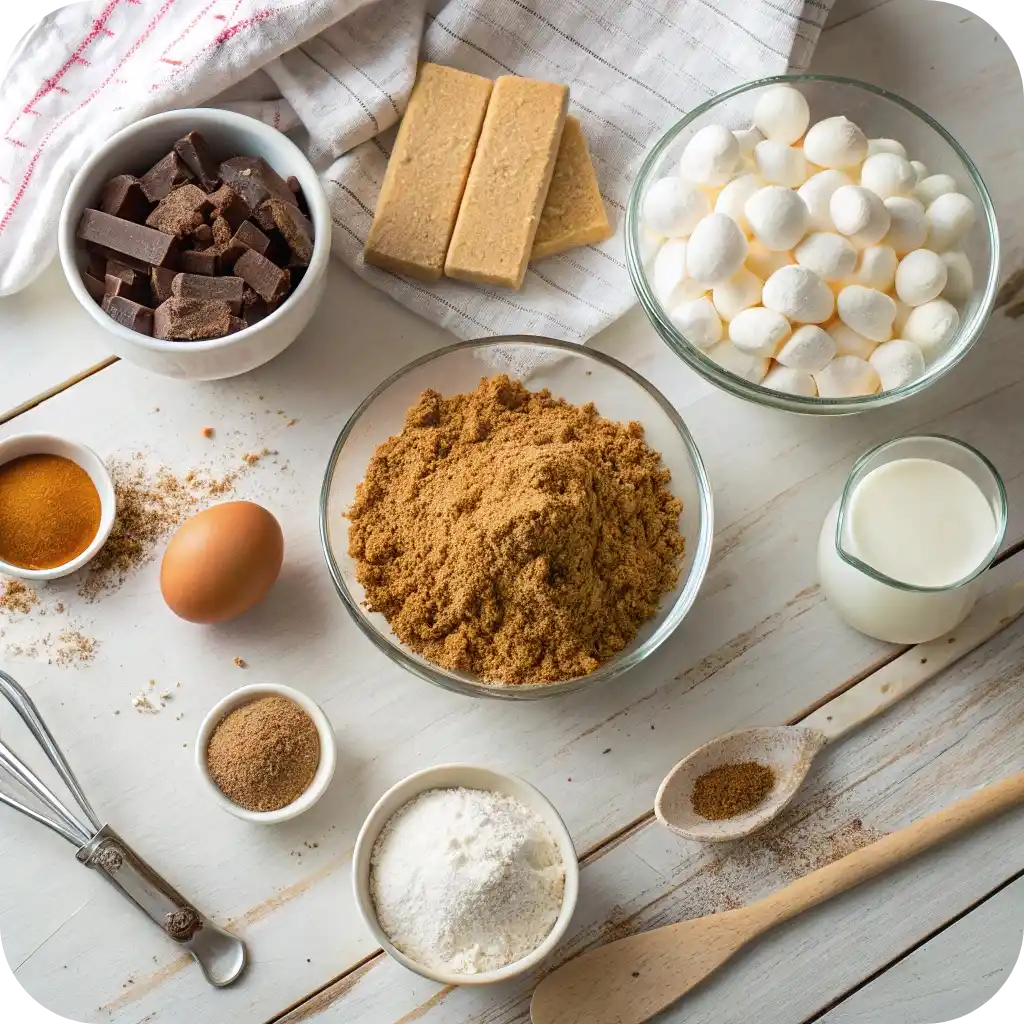
Essential Ingredients for Classic Rock Bottom Pie
- 1 pre-made graham cracker crust (or homemade)
- 1 cup chocolate chips (semi-sweet or dark)
- 1 can (14 oz) sweetened condensed milk
- 1 tub whipped topping (about 8 oz), thawed
- 1 cup mini marshmallows
- 2 tablespoons milk
- 1 teaspoon vanilla extract (optional)
Simple pantry staples that turn into a nostalgic no-bake treat
Step-by-Step Method for the Perfect Classic Pie
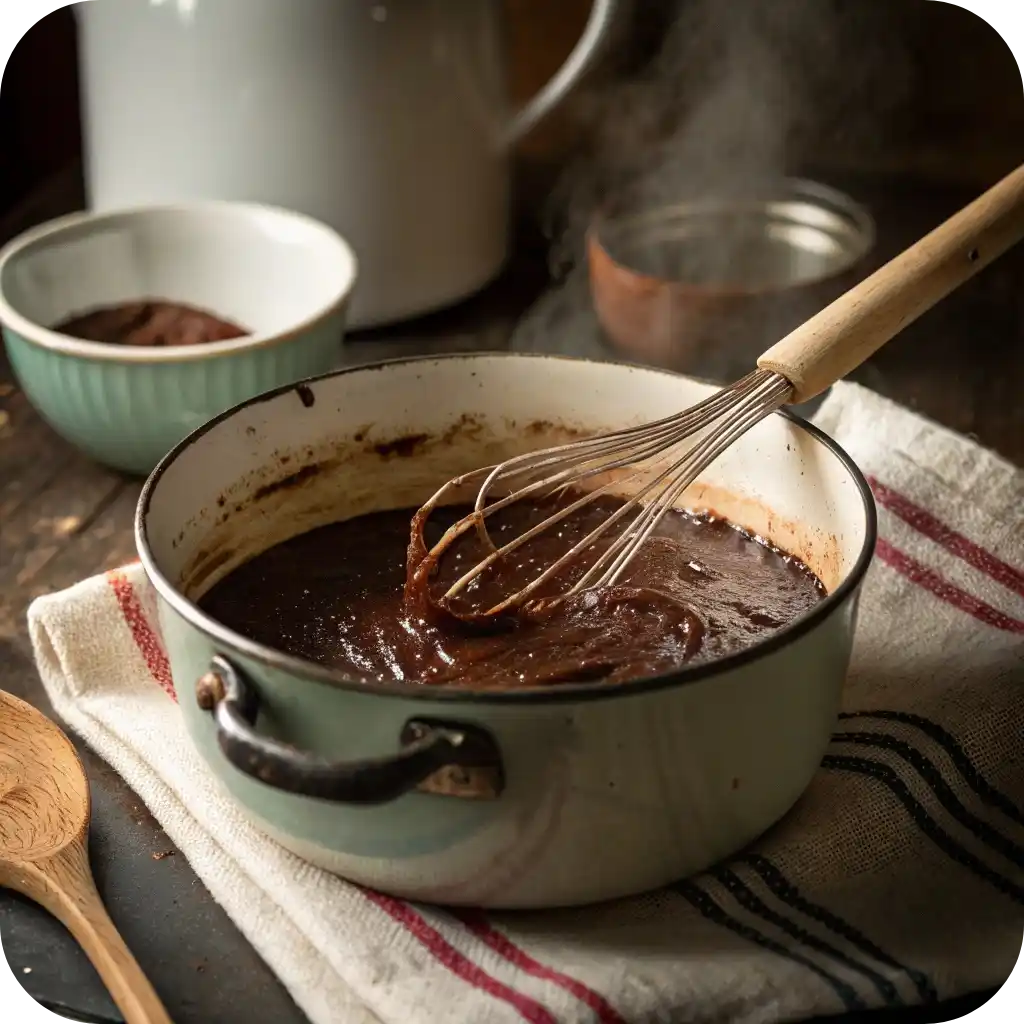
- In a small saucepan, melt the chocolate chips with the sweetened condensed milk over low heat, stirring constantly until smooth and glossy.
- Remove from heat and stir in vanilla extract if using. Let it cool for about 10 minutes until slightly thickened but still pourable.
- Pour the chocolate mixture into the graham cracker crust and smooth it evenly with a spatula.
- In another saucepan, gently melt the mini marshmallows with 2 tablespoons of milk over low heat until fully melted and creamy.
- Let the marshmallow mixture cool slightly, then fold in the thawed whipped topping gently until combined into a fluffy topping.
- Spoon the marshmallow topping over the chocolate layer and spread it out evenly to the edges.
- (Optional) Broil the pie for 1–2 minutes or use a kitchen torch to lightly toast the topping. Watch closely to avoid burning.
- Refrigerate the pie for at least 4 hours or overnight until fully set.
- Slice, serve chilled, and enjoy a creamy, crunchy, sweet dessert made from almost nothing.
- For best results, chill overnight and slice with a warm knife for clean edges every time.
Marshmallow Topping and Final Assembly of the Rock Bottom Pie
Fluffy Marshmallow Topping That Steals the Show
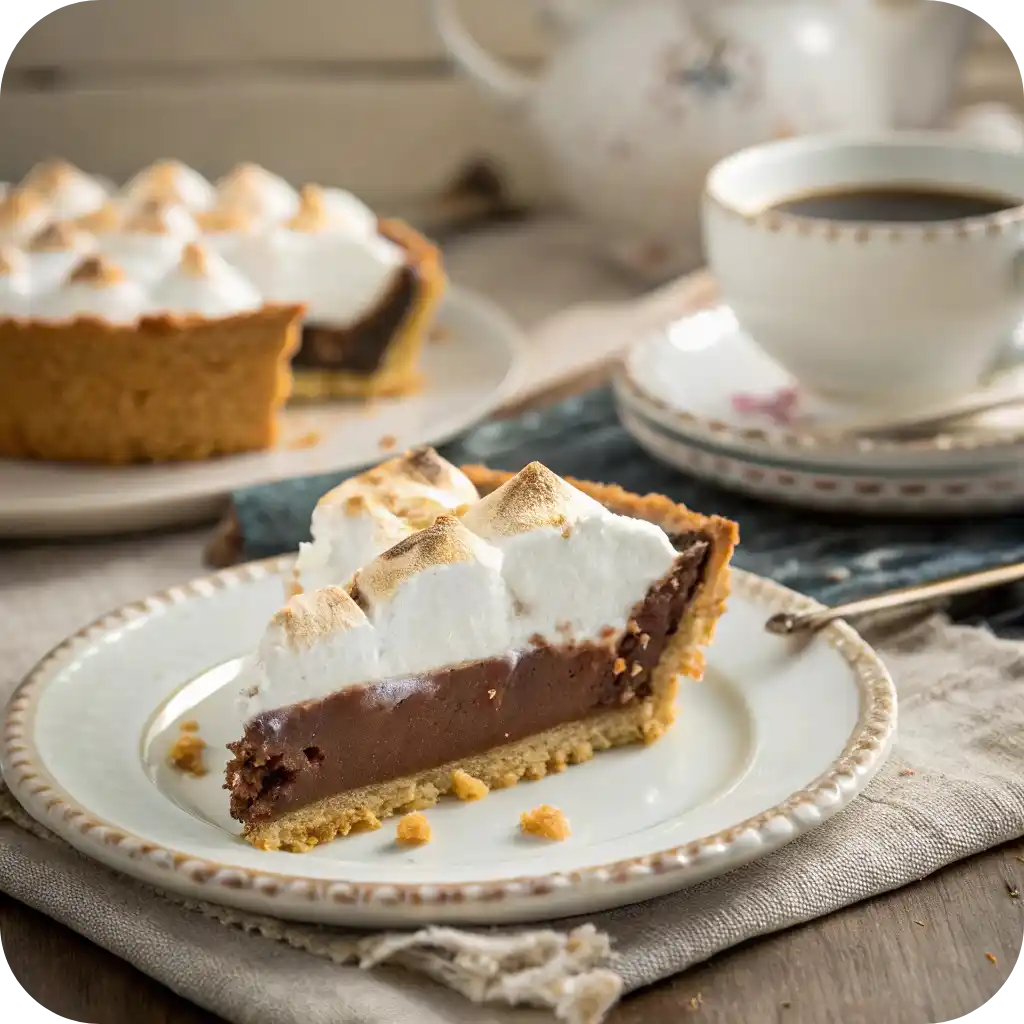
No classic rock bottom pie is complete without that signature marshmallow topping. Light, airy, and just a little bit toasted, it’s what takes this retro pie recipe from delicious to unforgettable. Grandma Ruth made hers by gently melting marshmallows with a splash of milk over low heat. Once smooth, she’d fold in whipped cream until the mixture became soft and spreadable, like a cloud ready to float across the chocolate filling.
If you’re short on time, using whipped topping and a swirl of marshmallow fluff works too-but the homemade version has a rich, toasty flavor that feels like home. Once spread across the chilled chocolate pudding pie layer, it’s ready for the finishing touch.
Toasting, Chilling, and Serving the Pie
To give the topping that golden kiss, pop the pie under the broiler for just 1–2 minutes-watch it closely! You want light browning, not burnt sugar. Alternatively, you can use a kitchen torch to gently caramelize the top. Then chill the pie again for 30 minutes to help the topping set before slicing.
When served, the contrast between the crunchy graham cracker crust, creamy chocolate no-bake pie center, and that pillowy marshmallow topping is absolute perfection. It’s a pie that tells a story with every bite.
Craving more comforting no-bake desserts like this one? Explore all the delicious variations in Rock Bottom Pie: A No-Bake Classic with Endless Comfort.
What is the secret to crispy bottom pie crust?
The key is baking the graham cracker crust before filling. Press the crust firmly into the dish and bake at 350°F for 8–10 minutes. Let it cool fully before adding any filling-this prevents sogginess and gives it that satisfying crunch.
What is Dolly Parton’s favorite pie?
While Dolly’s favorites include chess and coconut pies, fans of retro pies often say this style of chocolate pudding pie with marshmallow topping would be right at home on her table. It’s sweet, nostalgic, and rooted in Southern comfort-just like Dolly herself.
What was Elvis pie?
Elvis pie typically combines peanut butter, banana, and chocolate-his favorite flavors. You can turn this rock bottom pie into an “Elvis pie” by adding sliced bananas between the pudding layer and crust or swirling peanut butter into the chocolate filling.
What is the name of the bottom pie crust that is baked before filling?
That’s called a blind-baked crust. It’s especially useful in pies like this one, where the filling is chilled and not baked again. Pre-baking ensures the crust stays crisp and supports the creamy filling.
Classic rock bottom pie isn’t just dessert-it’s a memory. With its crispy graham cracker crust, creamy chocolate center, and dreamy marshmallow topping, it brings comfort in every bite. Whether you’re making it for a holiday, a potluck, or a quiet night in, this retro pie recipe is sure to steal the spotlight. It’s simple, timeless, and made to be shared-just the way Grandma Ruth taught me.
With all my heart,
– Grandma Emma 💛
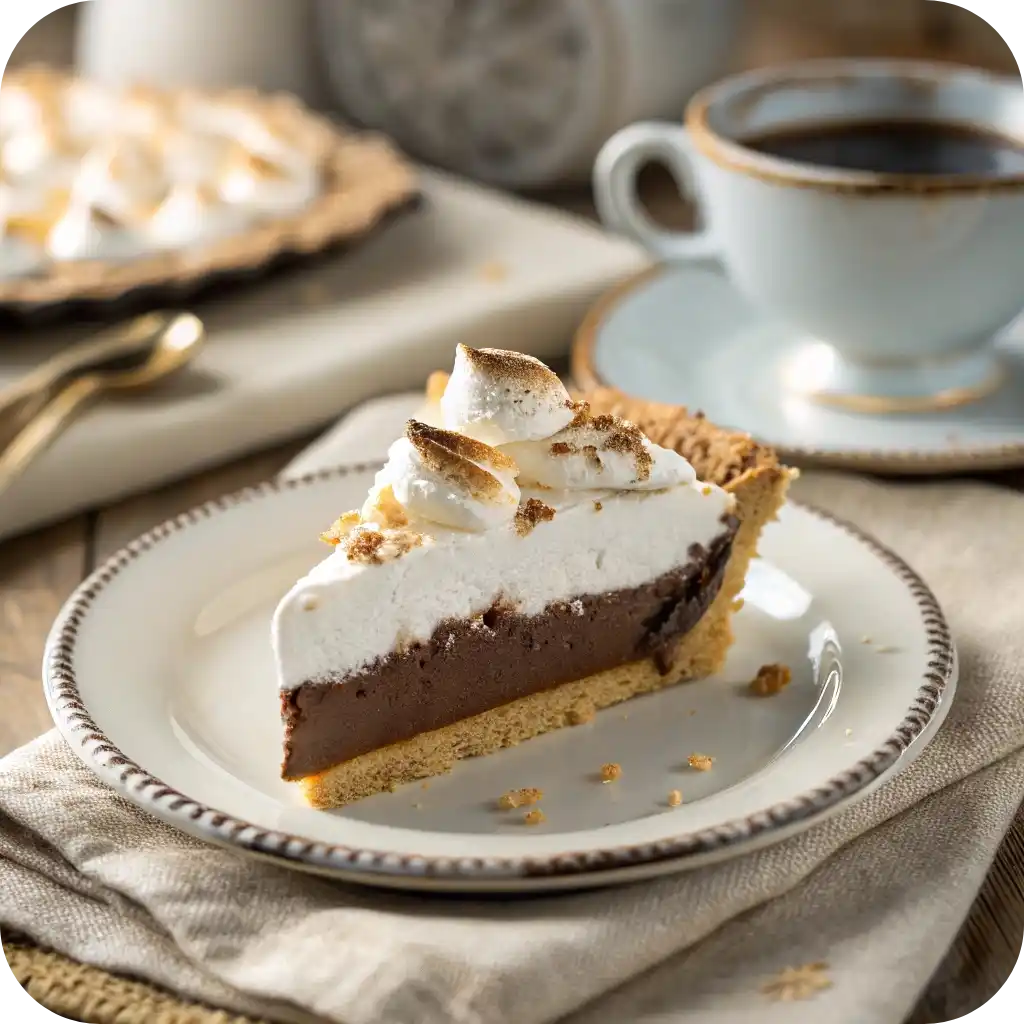
Classic Rock Bottom Pie
Ingredients
Equipment
Method
- Prepare crust: If using homemade crust, combine 1 1/2 cups crushed graham crackers with 4 tbsp melted butter and 2 tbsp sugar. Press into a 9‑inch pie dish. Bake at 350 °F for 8‑10 minutes until fragrant; let cool completely. If using pre‑made crust, skip baking.
- Make filling: In a saucepan over low heat, melt 1 cup chocolate chips with the sweetened condensed milk, stirring constantly until smooth. Remove from heat, stir in vanilla if using, and let cool for 10 minutes until slightly thickened.
- Pour the chocolate mixture into the cooled crust and smooth the top with a spatula.
- Make marshmallow topping: In another saucepan over low heat, melt mini marshmallows with 2 tablespoons of milk, stirring until smooth. Allow to cool slightly, then gently fold in the whipped topping until fluffy.
- Spread the marshmallow‑whipped mixture evenly over the chocolate layer.
- Optional toasting: Broil the pie 1‑2 minutes or use a kitchen torch to lightly toast the marshmallow topping—watch closely to avoid burning.
- Chill in the refrigerator for at least 4 hours, preferably overnight. Before slicing, run a warm knife around the edges for clean slices. Serve chilled.