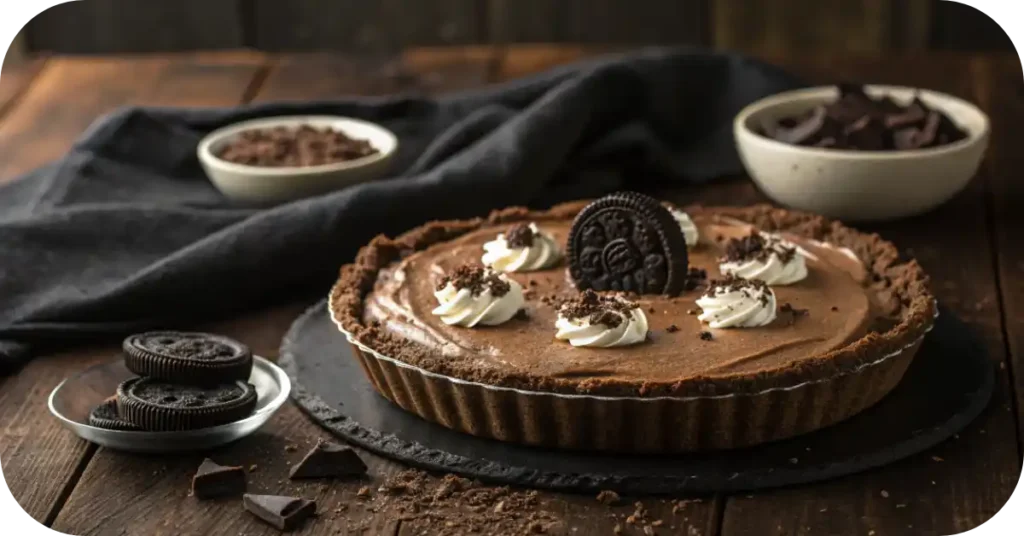
They say necessity is the mother of invention, but in my family, it was Grandma Ruth who turned necessity into something sweet. This recipe – Oreo Rock Bottom Pie – wasn’t born from fancy cookbooks or passed down from generations of bakers. It came from an ordinary afternoon, a little hunger, and a cupboard that looked emptier than it really was.
It was one of those long, gray afternoons when the house seemed too quiet, the fridge seemed too bare, and the craving for something chocolatey hung in the air like a storm cloud. I had wandered into Grandma Ruth’s kitchen, expecting disappointment. No baking chocolate. No cocoa powder. Not even a half-used bag of chocolate chips.
What there was, tucked behind a jar of pickles, was a half-eaten sleeve of Oreos. Next to it? A forgotten block of cream cheese and a tub of whipped topping. To my young eyes, this looked like a disaster. But to Grandma Ruth, it looked like opportunity.
“Well now,” she said, smiling that soft, knowing smile of hers, “Oreos and cream? That sounds like dessert to me.”
Without a recipe, without a plan, she got to work. Cookies were crushed, cream cheese was whipped, whipped topping folded in. The pie she created that day wasn’t elegant. It wasn’t sophisticated. But it was unforgettable.
It was sweet, creamy, crunchy in just the right places, and packed with comfort. That pie became known in our house as Oreo Rock Bottom Pie – because it came from the rock-bottom shelf of the pantry, and because it lifted us up in ways only dessert can.
Since then, it’s been made for birthdays, potlucks, after-school treats, and those days when you need a little reminder that joy doesn’t come from perfection; it comes from sharing something made with heart.
If you’re curious about how this simple pie became such a family tradition, you can read more about its sweet history in our dedicated article.
The Easiest No-Bake Oreo Pie for Chocolate Lovers
If you’re looking for a dessert that’s rich, creamy, full of chocolate flavor, and requires zero oven time, this is it. Oreo Rock Bottom Pie is the kind of recipe that delivers comfort with every bite. It’s pantry-friendly, quick to prepare, and perfect for those times when you want something impressive without spending hours in the kitchen.
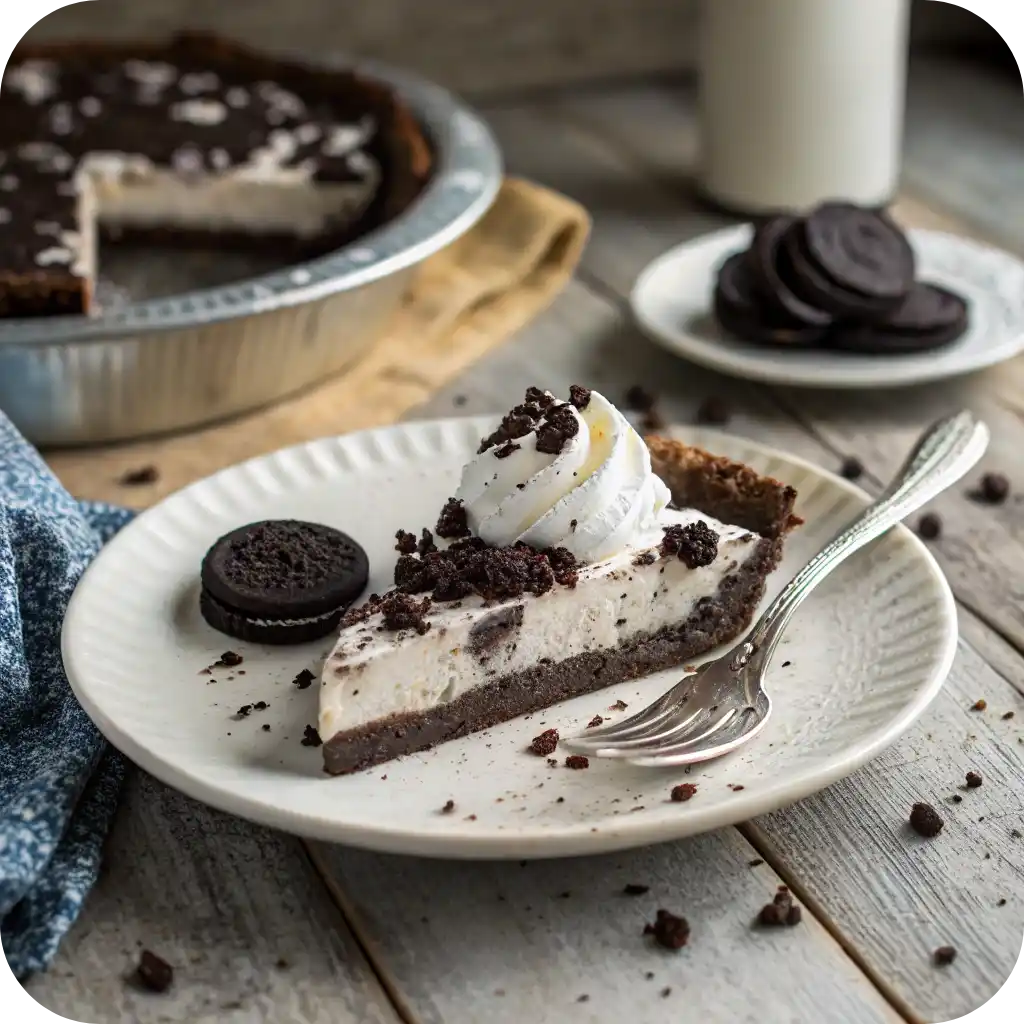
With its silky smooth filling, crisp cookie crust, and playful topping of crushed Oreos, this dessert looks beautiful on any table but feels like home in every bite. It’s proof that the simplest ingredients often create the sweetest memories.
If you want to explore more about Rock Bottom Pie, including its variations and why it remains such a popular no-bake dessert, you can read our detailed guide here.
Ingredients You’ll Need
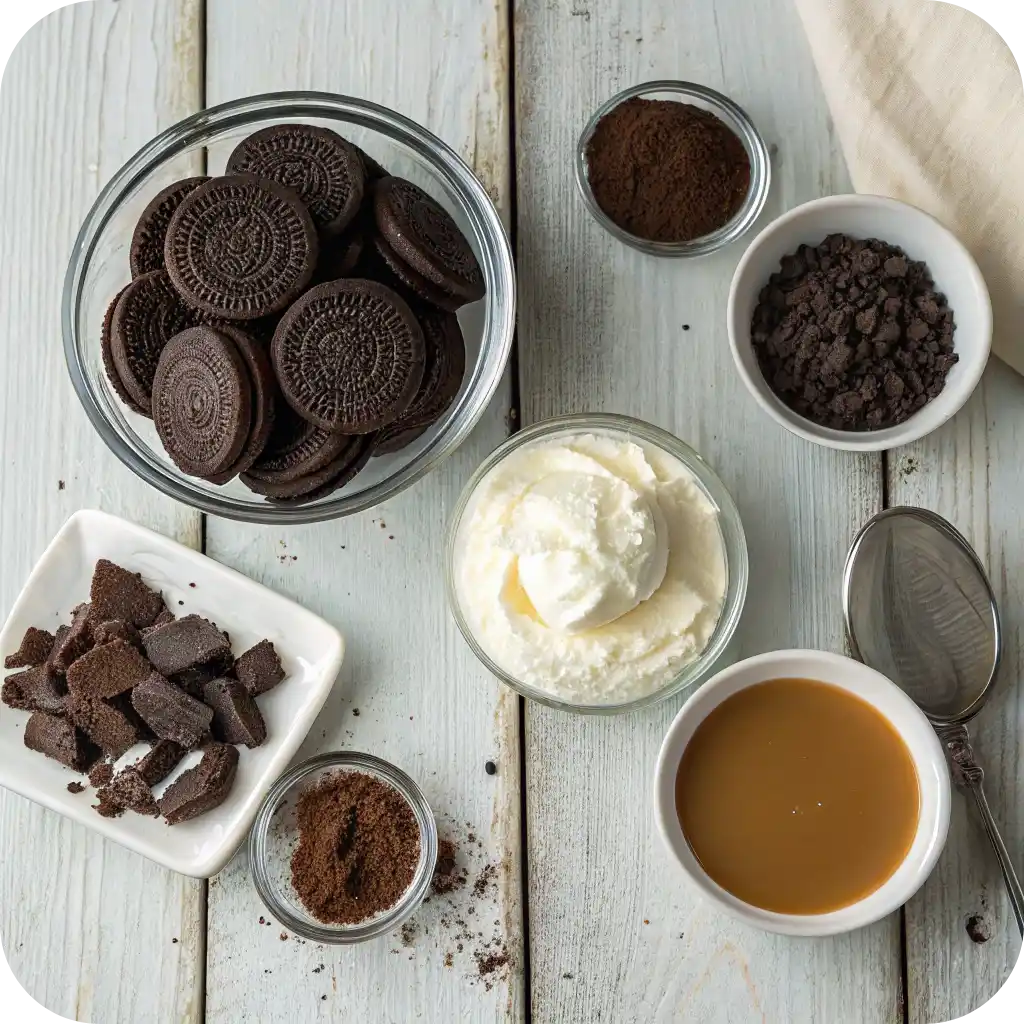
Most of these ingredients are probably already in your pantry or fridge. That’s part of the charm – no special shopping trips required.
- 1 prepared Oreo crust (store-bought or homemade with crushed Oreos & melted butter)
- 1 cup cream cheese, softened
- 1 cup powdered sugar, sifted
- 1 cup crushed Oreos (plus extra for garnish)
- 8 oz whipped topping, thawed
- 1 teaspoon vanilla extract (optional)
- A drizzle of chocolate syrup or melted chocolate for garnish (optional)
Optional homemade Oreo crust:
- 24 Oreo cookies, finely crushed
- 5 tablespoons melted butter

How to Make Oreo Rock Bottom Pie
1. Prepare the Crust
If you’re using a store-bought Oreo crust, you can skip ahead. If making it from scratch, stir crushed Oreos with melted butter until the texture resembles wet sand. Press this firmly into a 9-inch pie dish. Chill for 30 minutes to set. For extra structure, bake at 350°F for 8-10 minutes and allow to cool fully.
2. Make the Filling
In a large bowl, beat softened cream cheese and powdered sugar until light and fluffy. This ensures the texture will be creamy and smooth. Add vanilla extract if desired for a subtle warmth in flavor.
Gently fold in crushed Oreos, keeping the texture visible throughout the filling. Overmixing will make it too uniform – you want those little speckles of cookies to shine through.
Next, fold in the thawed whipped topping with a spatula, using light, sweeping motions. This keeps the mixture light and airy, giving the final pie its signature fluffy texture.
3. Assemble the Pie
Spoon the filling into your prepared crust, smoothing it evenly to the edges. Scatter additional crushed Oreos across the top for texture and visual charm. Drizzle with chocolate syrup if desired for a touch of extra indulgence.
4. Chill
Refrigerate for at least 4 hours. Overnight is even better if you want neat, picture-perfect slices. This chill time allows the filling to set and the flavors to meld beautifully.
Tips for Serving & Storage
- For clean slices: Run your knife under warm water between cuts. Wipe clean each time for the sharpest presentation.
- Storage: Store covered in the refrigerator. This pie keeps well for 3-4 days.
- Freezing: You can freeze this pie if needed. Wrap tightly with plastic wrap and foil. Thaw overnight in the fridge before serving. Note: the texture may soften slightly after thawing.
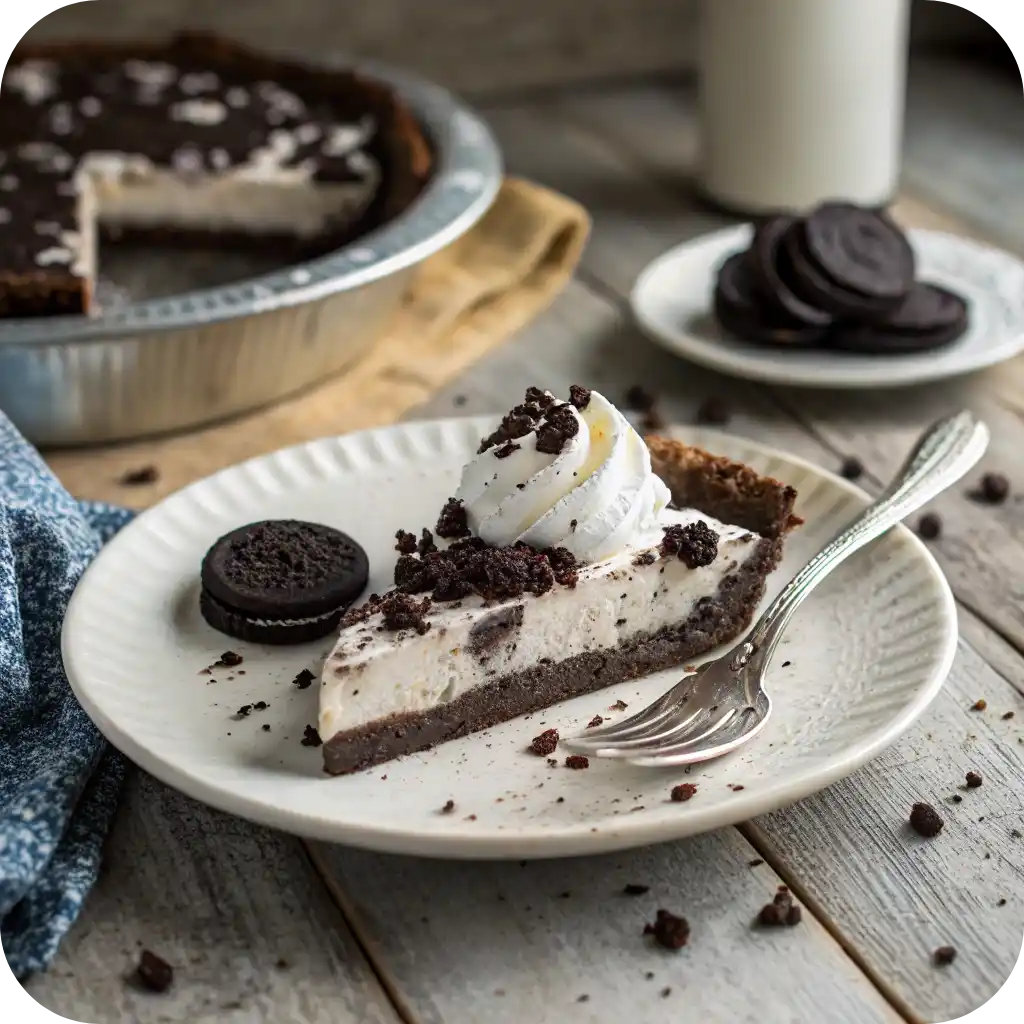
- Serving suggestions: Serve chilled with a dollop of whipped cream, extra crushed Oreos, or a drizzle of chocolate. A scoop of vanilla ice cream pairs beautifully too.

Why This Oreo Pie is a Family Favorite
This pie is more than just dessert; it’s a reminder that joy comes from the little things – a sleeve of cookies, a block of cream cheese, and a bit of creativity. It’s the kind of recipe that feels like home with every bite.
If you want to learn more about the history and cultural importance of pies, you can visit Wikipedia for additional details.
What makes this pie so loved?
- No-bake convenience: Perfect for warm days or when you need dessert fast.
- Pantry-friendly ingredients: Oreos, cream cheese, whipped topping – all easy to keep on hand.
- Adaptable: Swap in different cookies or toppings to make it your own.
- Crowd-pleaser: Simple, sweet, and impossible not to love.
It’s proof that dessert doesn’t have to be complicated to be special.
FAQ (People Also Ask)
Have Oreo pie crusts been discontinued?
Yes, Oreo’s pre-made pie crusts have been discontinued since 2023. However, you can easily create a homemade version by crushing Oreos and combining them with melted butter to form a perfect no-bake crust.
What does black bottom pie taste like?
Black Bottom Pie offers a rich contrast of flavors and textures: a crisp cookie crust, a dense layer of dark chocolate custard or pudding, and a light, airy topping of whipped cream or meringue. It’s creamy, decadent, and perfect for chocolate lovers.
Did Baker’s Square get rid of Oreo pie?
There’s no clear confirmation that Baker’s Square officially removed an Oreo pie from their menu. Most likely, this confusion comes from the discontinuation of the store-bought Oreo pie crust rather than a specific restaurant dessert.
Why is it called black bottom pie?
The name “Black Bottom Pie” comes from its distinct layer of dark chocolate custard at the bottom of the pie. This style of pie became popular in the 1940s and is known for its rich base contrasted with a light whipped topping.
A Slice of Love, Layered with Oreos
Some recipes stick because they’re delicious. Others stick because they remind us who we are, where we’ve been, and how sweet life can be – even when it’s simple. Oreo Rock Bottom Pie is both.
It’s creamy, crunchy, and full of heart. It reminds me of Grandma Ruth’s kitchen, of rainy afternoons turned sweet, and of the quiet magic in making something wonderful from almost nothing.
Whether you’re serving this at a family gathering, bringing it to a potluck, or making it just for yourself on a lazy Sunday afternoon, know that every bite carries a little warmth from my kitchen to yours.
With all my heart,
– Grandma Emma

Oreo Rock Bottom Pie
Ingredients
Equipment
Method
- If using a homemade crust, combine crushed Oreos and melted butter. Press into a pie dish and chill for 30 minutes (or bake at 350°F for 8-10 minutes). Cool fully.
- Beat softened cream cheese and powdered sugar until light and fluffy. Stir in vanilla extract, if using.
- Gently fold in crushed Oreos, followed by the whipped topping. Use light motions to keep the texture airy.
- Spoon filling into the prepared crust, smooth the top, and garnish with extra crushed Oreos and chocolate drizzle if desired.
- Refrigerate for at least 4 hours, or overnight, until fully set.